Welcome to Mike's World.
Hi, I'm Mike Davis. I like to build things and travel. Here you will find links to, and in-depth
explanations of, all my interesting (I think) projects, hobbies, how-to's and pastimes and travel destinations.
Click on a photo to go to that section, or read blog entries below.
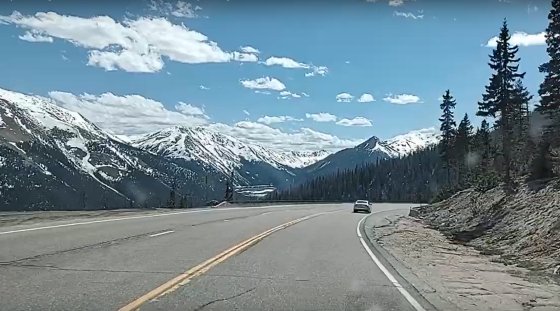
01/10/24 - Our amazing trip to Easter Island!
As promised, here is a video of another amazing trip we took to Easter Island. On our way back from Antarctica (see below) we decided to spend a couple of days on Easter Island and explore the amazing
sights and archaeology. This trip was a life-long dream come true for me. I've wanted to go there since I was a young child. Finally made it, and it was even more amazing than I could have imagined.
We all had a great time there. We'd go again in a heartbeat. Check out the video. I think you'll be amazed too.
01/02/24 - Lots of travel!
Sorry there haven't been any updates in a while. I've been travelling a lot the last year. It feels like we were on the road more than at home. A lot of videos were recorded on the trips and
uploaded to Youtube, but I have been lax about updating my blog. I just seem to be too busy, usually on a trip or planning the next one. Anyway, we just got back from a couple of AMAZING trips
that most definitely need to be shared. We went to Antarctica! Yes, Antarctica. It was truly a trip of a lifetime. Two videos came out of this trip. I'll link to them below. Check them out.
You won't be disappointed. Another amazing trip is coming soon too.
A trip to Antarctica, Part 1.
This is the story of our epic, once in a lifetime, trip to visit Antarctica. Two members of our party will achieve their life-long dream of setting foot on all seven continents.
It was a truly amazing journey. We saw lots of unique wildlife, and otherworldly vistas of incredible beauty. Come along with us.
A trip to Antarctica, Part 2.
This is the story of our epic, once in a lifetime, trip to visit Antarctica. Two members of our party will achieve their life-long dream of setting foot on all seven continents.
It was a truly amazing journey. We saw lots of unique wildlife, and otherworldly vistas of incredible beauty. Come along with us.
03/31/23 - Staying busy with several major projects.
Whew, I've been busy. I am in the middle of rehabbing an old home-made Dobsonian telescope for the St. Petersburg Astronomy Club. Check out my Scopeworks page
for more information and videos on that. I've also been working on my JAZ80 breadboard retro-computer. There have been multiple recent updates on it.
It is nearly fully upgraded to Level 1. I'll be adding a monitor program and a BASIC interpreter to it soon. Check out my JAZ80 page for more info and
updates on that. Speaking of retro-computers, my Stand Alone NABU project has achieved all it's initial goals. I have more
plans for the NABU in the future. There's still more hacking to be done with it. Check out my dedicated NABU Hacking page for info and updates on that project.
Plus there's been lots of new videos released on my Youtube Urban Gold Mining playlist. I really need
to update my Urban Gold Mining page soon with some of the new content.
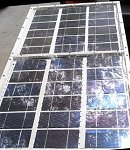
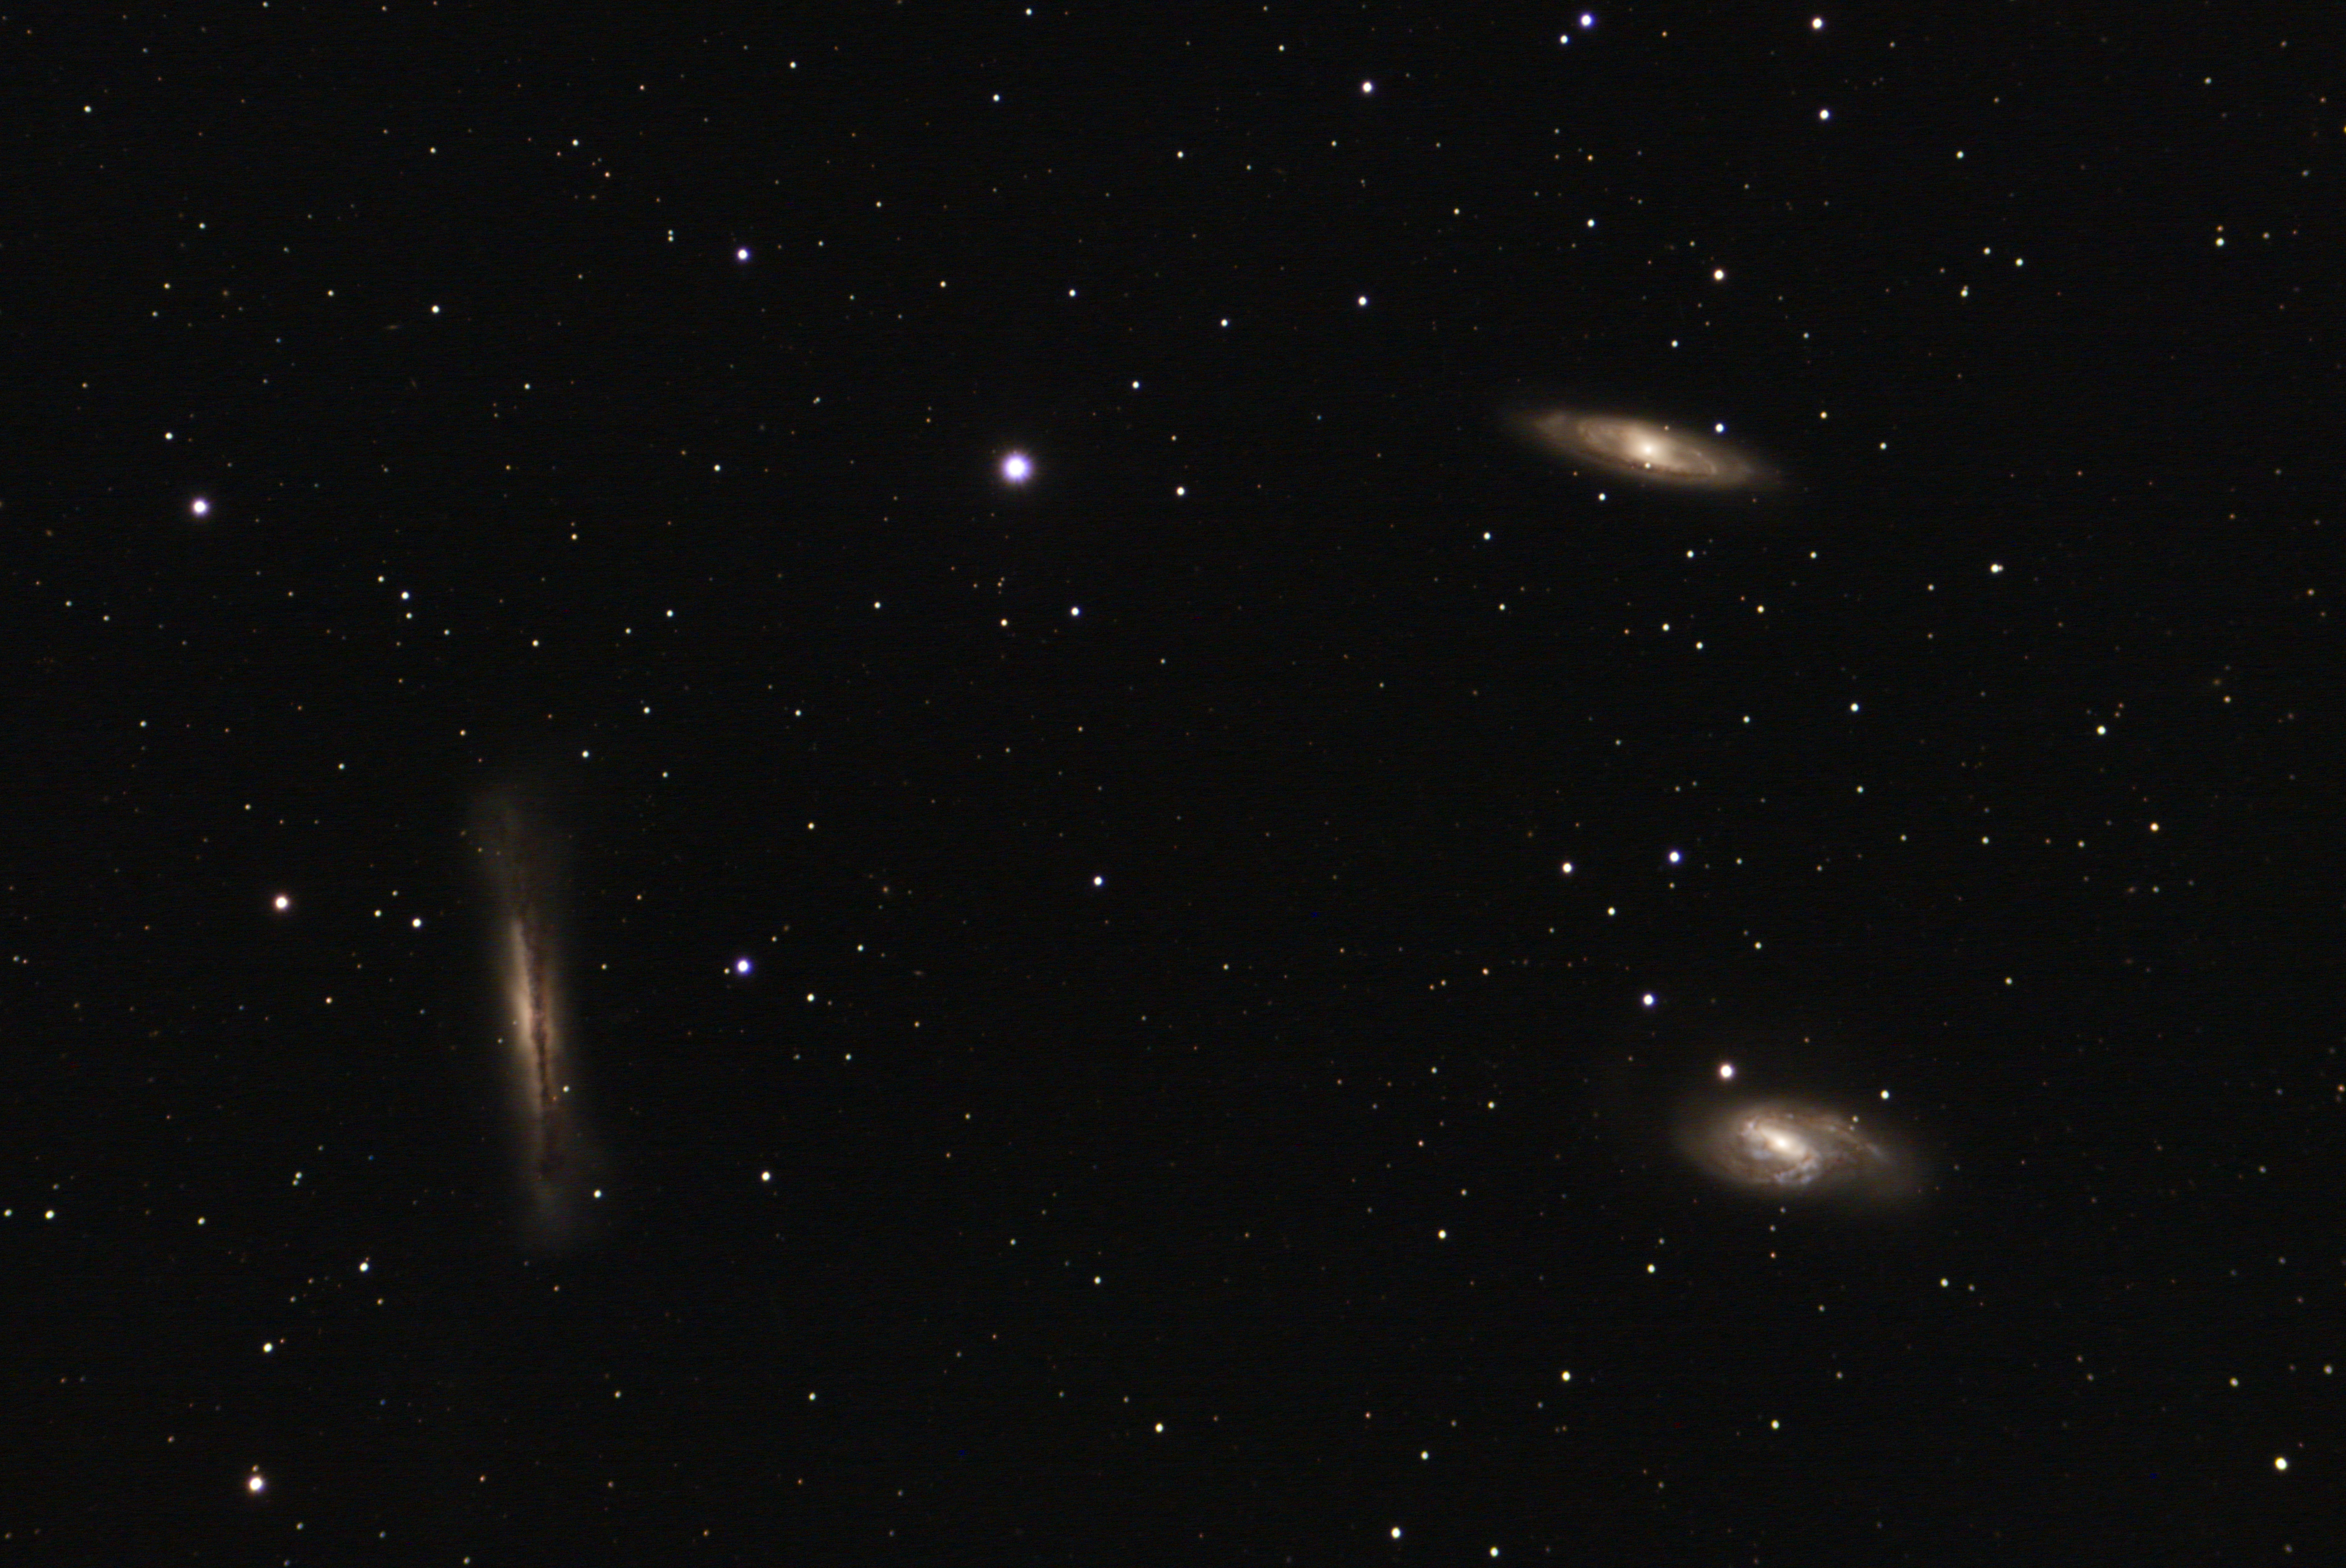
Even with all that stuff going on, I managed to find the time to get away for a few days to Withlacoochee River Park and do some astronomy and astrophotography. I'm definitely getting better at
astrophotography. I just need to find the time (and clear skies) to practice more. This is a photo of the Trio in Leo, Three bright galaxies in the constellation Leo. M65, M66, and NGC 3628.
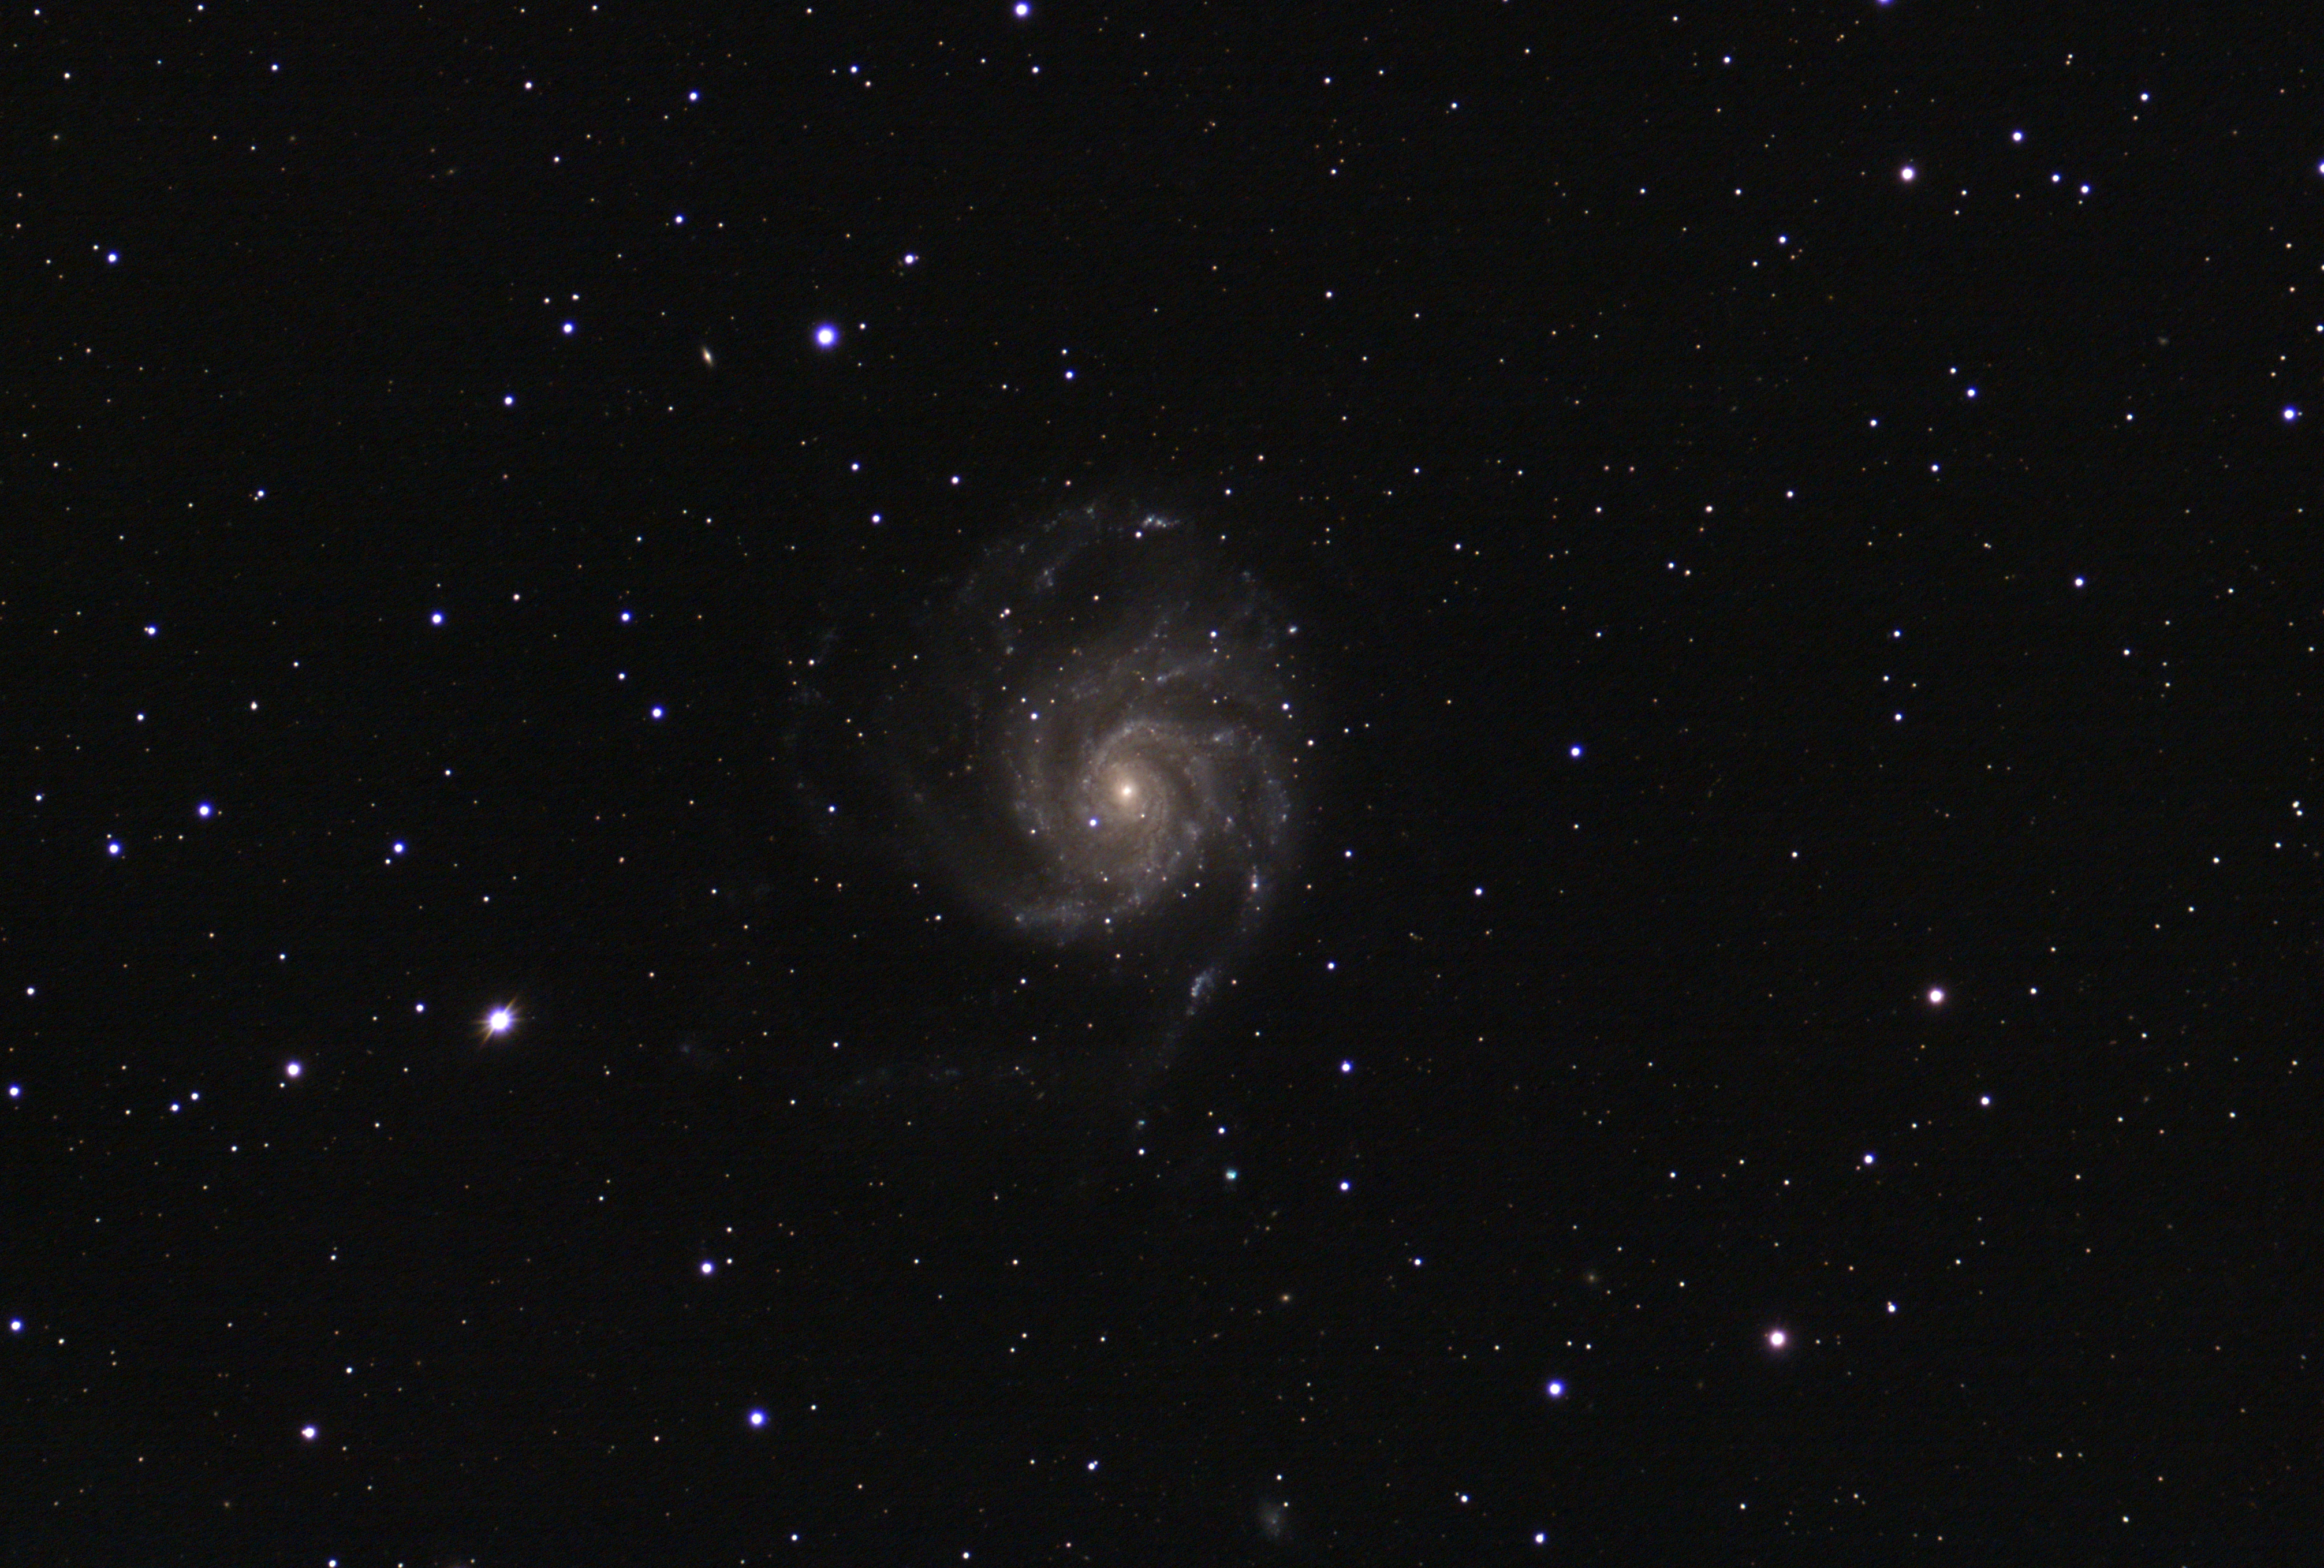
Here is a photo of galaxy M101. I've imaged it before, but I never get tired of it. Besides, as I get better at astrophotograhy, each new image of M101 is better and more detailed than the last.
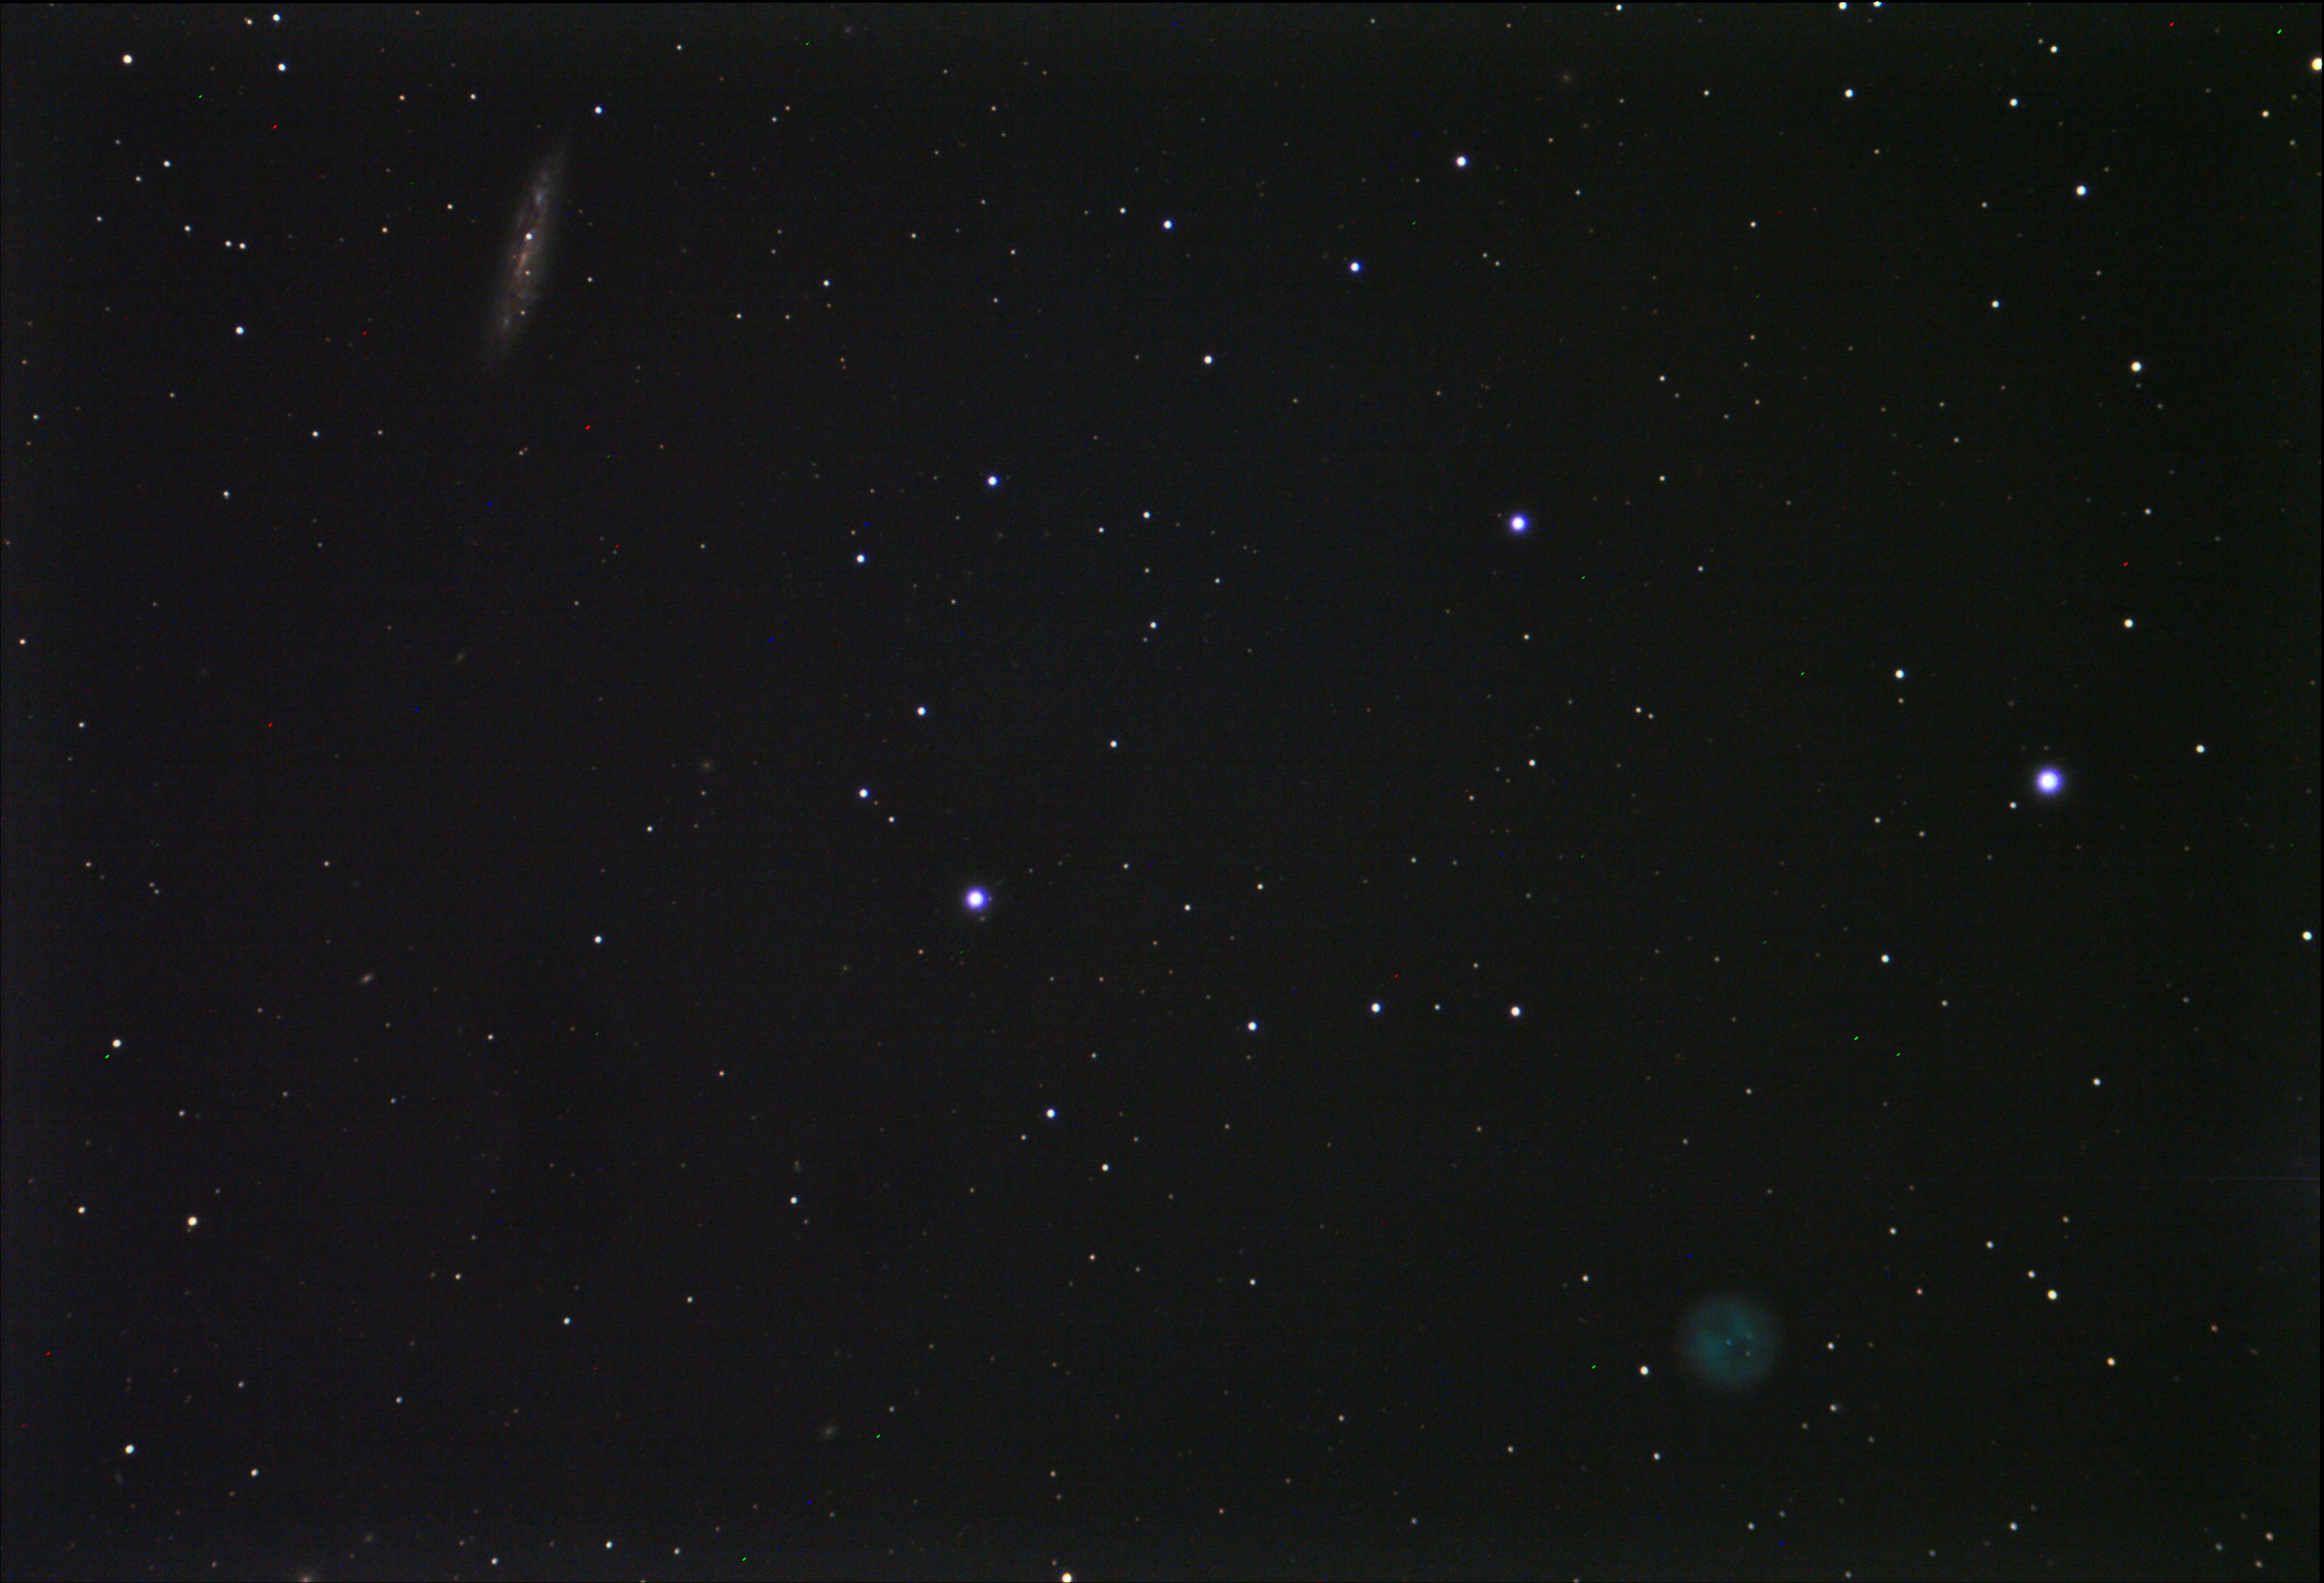
This is an image of galaxy M108 (upper left) and the Owl Nebula (lower right). I was extremely fortunate in my timing of this image. A supernova had just exploded in M108. I heard about it a
few days after taking this image. Sure enough, zooming in to M108, the supernova is visible.
Click to learn how
to meet them
12/28/22 - Two big new retro-computer projects!
Over on the Electronics & Retro-Computing section of the site, I have begun two big new retro-computing projects. First off, I started
building the Z80 computer of my youthful dreams. I call it the JAZ80, which stands for "Just Another Z80 Retro-Computer." I am building it on a breadboard, at least initially.
It is coming along nicely. Check out the dedicated JAZ80 page.
The newest big project is an ancient, but factory fresh, NABU Computer I picked up off Ebay for cheap. The NABU was a network computer that was leased by a couple of Canadian cable
companies to their customers back in the early 1980s. It had no local storage and accessed servers on the cable network for everything. Well, the NABU is about useless these days
without access to the network. But, I plan to turn it into a stand-alone computer with BASIC, and eventually some sort of mass storage, and eventually the CP/M operating system. Follow
along on my dedicated NABU web page as I hack the computer into something usable.
09/01/22 - A new For Sale section to my web site
My "hobby" of recovering precious metals from e-waste has kind of grown into a semi-business. One side-effect of doing scrap pickups from corporate clients is that I
often get some good, usable or re-usable equipment from them that is too nice to scrap out. So I have been re-selling it through various outlets like Ebay and Facebook Marketplace.
I decided to build my own for sale section here too, to give members of my Youtube audience first crack at some items I am selling.
It's also the only place you'll be able to find my E-Waste Starter Kit Mystery Boxes for sale, at least for now. There will
eventually be a wide variety of equipment for sale here. I'm still building up the site. Check it out.
08/08/22 - A video of mine went seriously viral!
While we were away on our latest trip out west, (see entry below), a video on
my new electronics oriented Youtube channel went seriously viral.
It was a video I made
about Radio Shack stores making something of a comeback. It didn't get much traction during
the first month or so that it was up on Youtube.
Then suddenly, while we were on vacation out west again, it took off like a rocket. In just a few days it got over 200,000 views, and well over
a thousand comments, with 98.8% positive reactions. Holy cow! The Youtube algorithm really smiled on me for a while. This led to a lot of increased
views on a lot of the other videos on the nearly new channel too, plus exponential subscriber growth. After launching the second channel only about
six months ago, it blew well past Youtube's requirements for subscriber numbers and viewing hours practically overnight to qualify for monitization. So Now I have two
successful and monitized Youtube channels that I have to keep making content for. Whew, that's going to be a lot of work. I just hope I can make
the lightning strike a few more time like it did for this Radio Shack video.
Click to learn how
to meet them
08/08/22 - Whew! Another long cross country drive! Yep, I drove across the country again.
I drove to our place in Wyoming and back via Denver. Leslie wanted to have her three best friends in the world
come out and visit our place in Wyoming. The logistics of getting everyone to Denver on time to catch a connecting flight to Riverton, Wyoming (the nearest
decent size airport to our ranch) were just impossible. The Covid stunned and barely functional airlines kept shifting flight schedules and cancelling flights.
I volunteered to drive our biggest truck out to Denver, take everyone's luggage with me and collect everyone as they arrived at the Denver Airport,
then drive us all up into Wyoming. That way we wouldn't have to worry about catching connecting
flights or lost luggage. It all worked out like a dream.
We got to spend a week together at our ranch and do some serious
sight-seeing, exploring and rock-hounding
in Wyoming. Then I drove the girls back to Denver so they could all fly home. Before driving back home myself,
I spent a few days gold prospecting in Fairplay, Colorado, then went back to our place in Wyoming
for a while and did some astronomy and more
rock-hounding.
What a great vacation. The more time we spend at our Wyoming place, the more we love it. I like driving, but I am about driven out for a while. Next time we
go out west we are flying.
06/24/22 - A month and a half on the road. Whew!
Okay, it's been a while since the last post, but I've been busy. Lots going on, including a month and a half long roadtrip around the US. It was a 12 state, 7500 mile, whilrlwind
of a trip around the country. And the best part is that I shot video of most of it. 24 videos came out of this trip. Interesting stuff too. Not just me taking you with me
across the US like your virtual Uber driver, but many stops at cool and interesting places. Check out
my Driving Across The USA playlist on
my Youtube Channel.
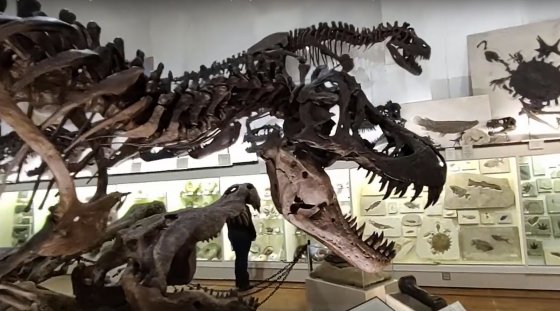
But wait, there's more. Leslie and I also spent our usual two weeks in Nebraska fossil hunting in May. We both found some neat stuff and had a lot of fun. I got a bunch of
videos about that too. So check out my Fossil Hunting playlist as well.
Click to learn how
to meet them
03/10/22 - A Video Of Our Time At The 2022 Orange Blossom Special Star Party
Leslie and I attended the February 23-27 Orange Blossom Special Star Party the St. Petersburg Astronomy Club puts on every year. I was there for four nights and
Leslie joined me for the last three. We had a great time. The weather was amazing the whole time. People who arrived a few days early said it was even great before we got
there. It was warm every day, and clear but not too cold every night. Couldn't have been better weather. All our telescopes got a real workout with clear skies every
night. We even canceled the usual cloudy night movie night, because there were no cloudy nights! I had made out what I thought was a ridiculously large list of targets to
observe with my big 17.5 inch Dobsonian telescope, never expecting to see them all with our usual weather. Well, by the second night I had seen them all an had to add a bunch
more objects to my list for the next two nights. It was unheard of great weather and fantastic observing. It was an all-around great time had by all.
Check out the video
to see some of the highlights.
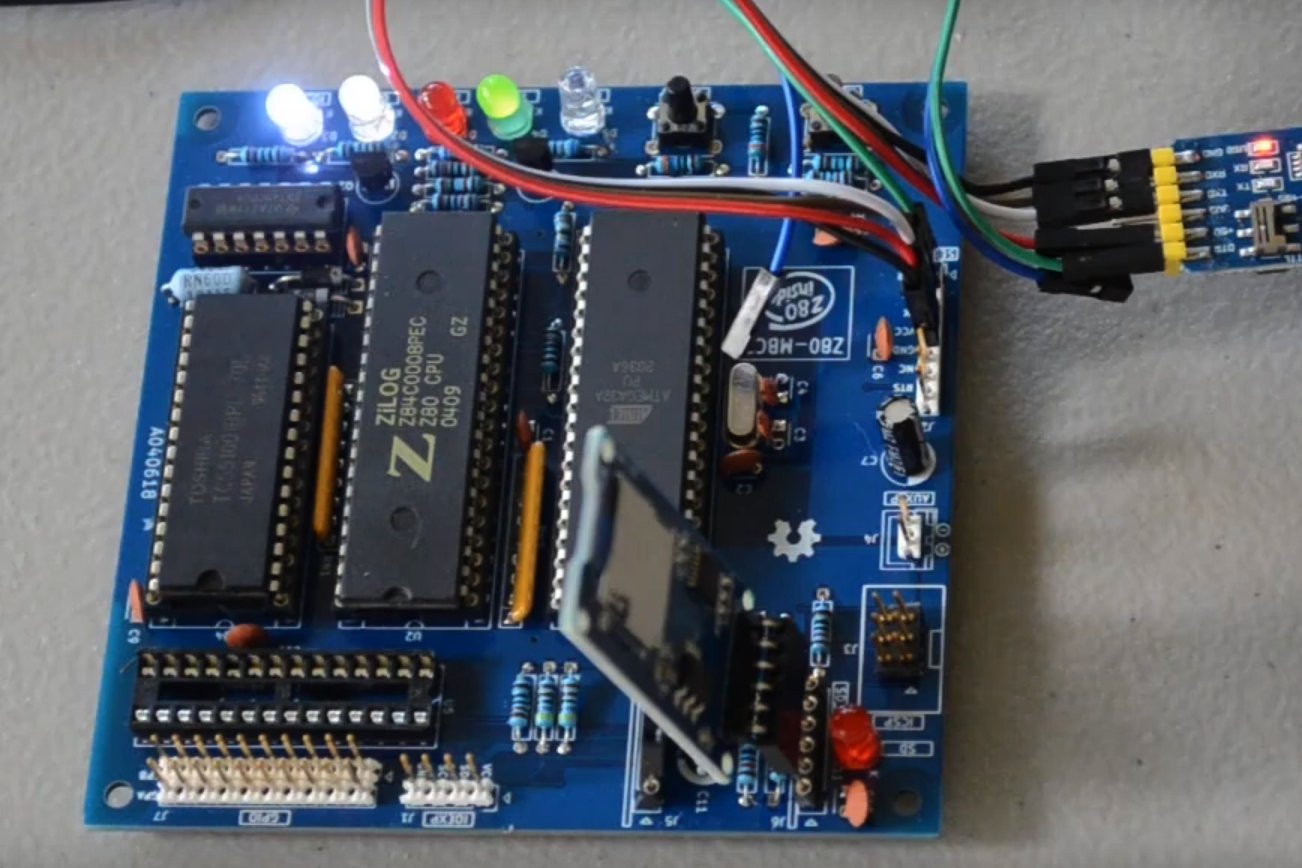
02/15/22 Announcing a new section to this web site!
I have just put together a new section to this web site, or blog, or whatever this sprawling mess has become. It is a place dedicated to my hobbies of retro-computing and
electronics tinkering. There are lots of videos of recent projects and links to past projects. I'm really getting into retro-computing. It's a lot of fun. Plus I have always
been an electronics geek. I will be putting all such content in this new section in the future, and will be adding links to older material as time permits. This photo for
instance is the Z80 MBC2 retro kit computer I built and am having fun with. It's just one of the many projects on
the new page. Check it out.
01/06/22 Entering Another 555 Timer Chip Design Contest
Wish me luck. I'm exercising my electronic design skills again by entering another 555 timer chip
design contest. I was the grand prize winner in the utility category of
the contest held 10 years ago by Chris Gammell and Jeri Ellsworth. My entry then was
a solar power charge controller based on a 555 chip.
This time I decided to try dragging the venerable old 555 into the digital age and try building
an 8 bit binary counter using nothing but 555 timer chips
and some passive components. I managed it. It works! It was also a fun build. However, the competition is steep. There are a lot of good entries so far in this contest. So I'm not
getting my hopes of winning anything up too high. Anyway, there are a few days left to enter the contest. So if you have a great design based on the 555 timer, get in your
entry.
Update 02/08/22: Well, I didn't win anything this time around. The competition was stiff though, and the winners were all really deserving projects. Better luck next time.
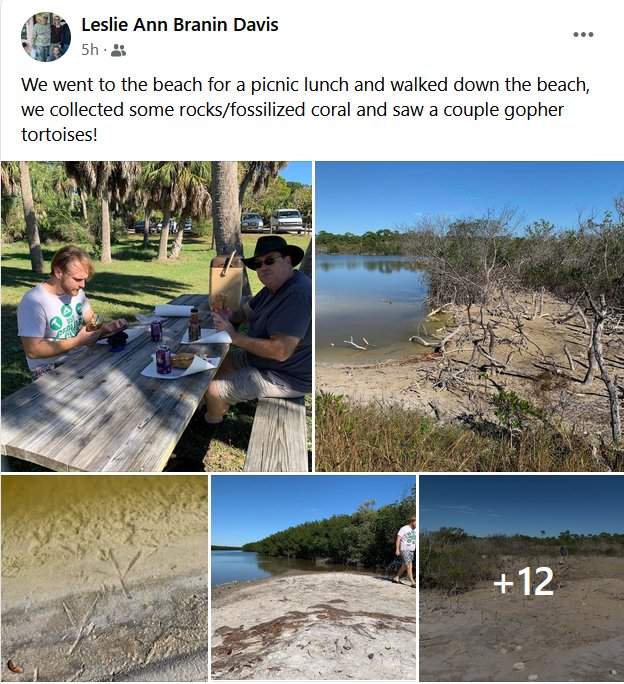
12/26/21 Christmas at the beach
Our family has a tradition on Christmas. We visit relatives and open our presents to each other on Christmas Eve. We always take a trip on Christmas Day.
We usually go to a river or a beach, but not to swim or bask in the sun. We go fossil and artifact hunting. This year we went to Honeymoon Island for a
picnic and to search for fossilized coral. We found some too, and saw some big gopher tortoises and other neat wildlife. It was a great day out.
I took some photos and was going to make a blog post, but as usual, Leslie was way ahead of me and had a bunch of photos and video up on Facebook.
So
I'm linking to her Facebook post.
Click here or on the photo to see the whole story and more photos.
Click to learn how
to meet them
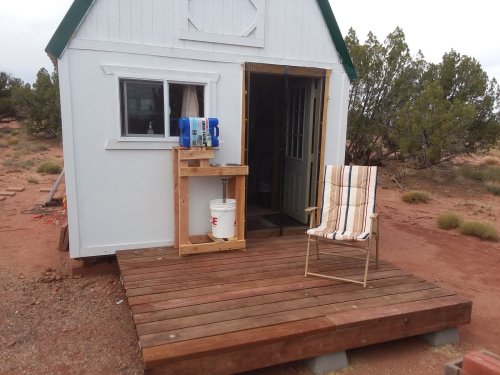
11/14/21 Yet another visit to Arizona
We were only back a couple of weeks from our last trip to our Arizona property when I left again for another two weeks out there. I had been having so much fun
and success doing astrophotography that I wanted very much to go back and do some more. Leslie couldn't take any more time off work, but she gave me her blessing
to go back for a couple of weeks. I timed the trip to coincide with the third quarter and new moon phases and flew back out to indulge in lots of astrophotography.
I also did a lot of work on the cabin while I was there, including building this new front porch deck.
Click here or on the photo to see the whole story and more photos.
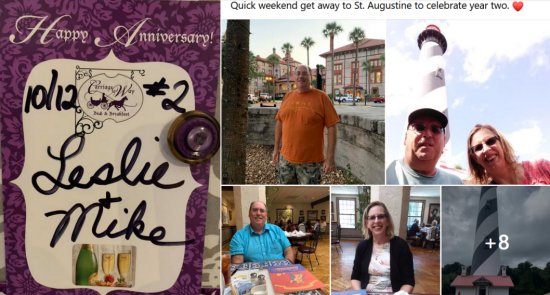
10/17/21 Our 2nd Wedding Anniversary!
Leslie and I had our 2nd wedding anniversary a week ago. We celebrated with a trip to Saint Augustine and a stay in a quaint bed and breakfast for a couple of days.
We had a great time.
We did all the touristy stuff. Visited the fort and climbed the lighthouse and ate way too much really good food. Two years and counting. Love you, Leslie.
Click here or on the photo to see the Facebook post and more pictures.
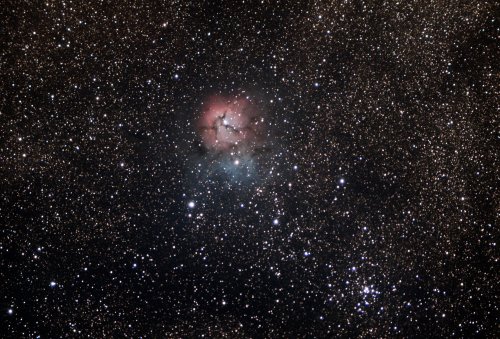
10/17/21 Just returned from an Arizona vacation
Leslie and I just returned from a week at our remote Arizona cabin. Only a month after returning from a week at our Wyoming ranch, we headed out for another week-long vacation
at our remote Arizona cabin. Leslie was in need of more time away from her stressful job, and I'm always ready to go to either of our places. So we flew off to Arizona for a
week of fun. We had some interesting adventures. We cruised Route 66, saw Meteor Crater, a huge volcano, lots of ancient Indian ruins and we both dabbled in astrophotography.
Here's a photo of the Trifid Nebula I took on this trip.
Click here or on the photo to see the whole story and more photos.
10/07/21 - Got my Pfizer Covid booster
Got my Pfizer Covid booster shot a couple of days ago. I was pleasantly surprised by the mild side-effects this time. Both of the first two shots I got had some pretty
nasty side-effects. This time just my stomach was a bit fluttery the evening after getting the shot. I didn't really want any dinner that night, but managed to get down some chicken
soup. By the next morning my stomach was fine and my appetite was back. My arm where I got the shot got sore that night, but not nearly as sore as the last two times.
It just felt mildly bruised for a couple of days. I hardly even noticed it most of the time. So now I can travel on crowded airplanes and crowded airports and strange
Ubers with peace of mind.
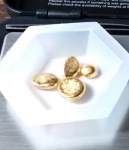
09/15/21 Gold panning in Wyoming
We just got back from spending a little over a week at our Wyoming ranch. We love it out there. We did a
lot on this trip. It is all written up with lots
of photos and video in the travel and vacation photos section of the web site. We painted the observatory at
the ranch, we went for a picnic and hike in the mountains, revisited The National
Museum of Military Vehicles and last but certainly not least, we went gold prospecting. It's one of my all time favorite activities. I so rarely get to practice it here in
Florida where we live most of the year. On this trip though we both wanted to get out there in the beautiful Wyoming wilderness and see if we could find some gold.
So we
loaded the truck with picks and shovels and buckets and gold pans and a gold sluice and headed for the mountains. We got directions from a rancher friend to a spot on his
gazillion acres of property where people have found gold before. He also told us how to get to the old abandoned dredge on Rock Creek. We went and visited that on the way
to get some photos. Then we headed off to a spot where we could dig and test pan. Once we found a spot with gold, we started digging in earnest. We then set up the sluice
in the creek and ran our paydirt through it until the light began to fade. We took our concentrates back to the ranch and I panned them out a couple days later. We found
some gold! But more importantly, we had a lot of fun. It was a great day out in the mountains. Now that we know a spot to find gold, I'm sure we'll be back again in the
future for more prospecting fun.
08/10/21 A visit to the Edison and Ford Estates and Edison's Lab
My wife had some continuing education she needed to do on Captiva Island for a few days. I tagged along because... Because it's Captiva Island. So while she was stuck
in boring meetings all day, I played and explored. One place I went was to the Edison and Ford Estates and Museum in Fort Myers. I had been there once before many years
ago, but barely remembered it. I wanted to see it all again. This time I got a pretty good look around, in spite of time constraints and deteriorating weather. I loved
seeing Edison's lab again. There were also some really neat displays in the museum, but I admit they kind of got short-shrift in the video because I was pressed for time.
It's all definitely worth a visit if you are in the Fort Myers area. Check out the video.


 09/01/22 - A new For Sale section to my web site